Friday, March 22, 2013

     Once you finish a picture of a manga person, add some good clothing. Today, I will teach you how to make clothing the right way. Most people just draw jeans and a tee. That's great, but where are the wrinkles? Look at your clothing, no piece of clothing on earth doesn't have wrinkles. Even the tight clothing has small wrinkles on them. Wrinkles on clothing are simple really, just add lines and connect them.
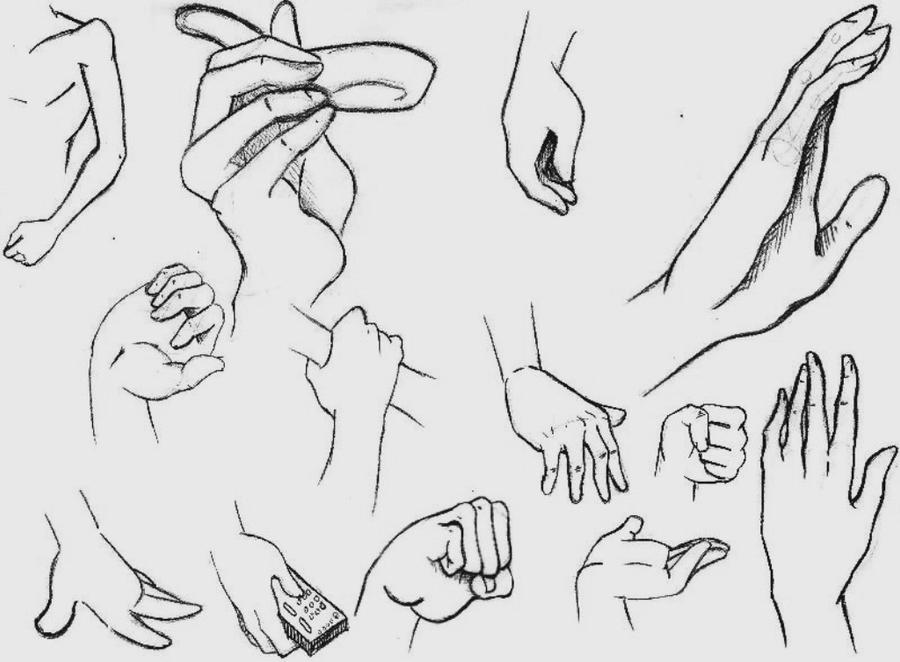
      Most wrinkles are shapped in "V"'s or "Z"'s and never in the shape of an "X." Why? Clothing with exact "X" shaped wrinkles are impossible to create naturally. Therefore, do not intersect the lines into an "X" to create wrinkles. Also, wrinkles vary on the kimd of clothing. Loose, baggy clothing have more, longer, and wider wrinkles that go into folds, overlapping over each other. This applies to heavy winter jackets, cargo pants, etc.
   Differences in wrinkles
     Tight clothing that clings to the skin have smaller, shorter wrinkles, indicating that it's smaller or skinnier such as skinny jeans or tank tops. For rips, it's very similar to wrinkles, it is just lines closely packed together. Also, pay attention to gravity! If the character is running, obviously, the clothing isn't going to stay the same as when the character is just standing there. Know what direction the clothes go, that way, you can understand what the character's actions are, and if the wind is blowing their hair, clothes, etc. Then, you can make accessories if you'd like! Scrunchies, headbands, ribbons, they all have wrinkles. Add them to the character to define their traits!
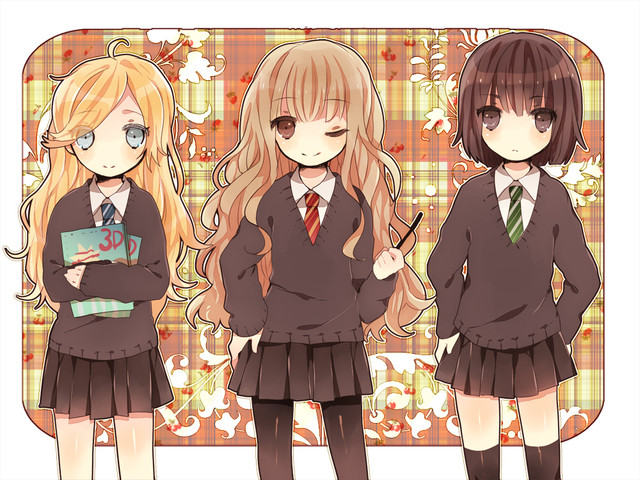
     Adding Value
     For example, a sporty individual would have their hair short or in a tight ponytail, and excercise clothing. It adds character and makes the person more interesting. As for the mainstream things, there are uniforms, which are used very frequently in animes and mangas. The usual uniform consists of a inside shirt and a jacket, a tie then a skirt or pants. You can do pretty much anything though, just try different styles, increasing overall value of your picture and draws more interest. Until next post. Later!
     Feet and Shoes. Drawing feet and shoes is as important as drawing hands. More things to learn, and more poses! Feet are also quite simple, and a bit easier to draw than hands in my opinion. But, you must also learn how to draw it correctly, and not stiff, just like the hand. Let's get started!
     First, draw a circle as big as you want the foot to be, which serves as the front base where the toes connect. Then, draw another smaller circle for the sole and heel. Connect the two circles as the two sides of the foot by curving in on each side. Then, add the toes. Remember, they aren't all the same length and bunched up together. It doesn't look appealing or real that way. The toes are just little ovals. Add the toenails, erase guidelines, and you're finished! 
     Hands, that is today's topic! Hands are just as important as side-views. It allows a variety of poses to be drawn of a manga person. Hands make the illustration more interesting instead of just standing there, doing nothing, no matter how well drawn the picture is. Most people tend to struggle with drawing hands because they don't practice, or they don't know the tips that can make drawing hands easier. So, I will give you a few tips on drawing hands.
     Firstly, examine your hand, know that your fingers aren't all the same length. There are also lines and etches on your palms and fingers. Your own hand is your guideline, use it! Just look at it in the position you want to draw it in, and copy it on the paper. Adjust the hand's size to the appropriate size if you do not want it to be life-sized. Or, ask someone, so you don't have to use your other hand. Also, do not make the fingers all the same length and stiff, bunched up all together, make them like what they are supposed to look like.
     Fingers are also broad near the bottom, and get skinnier at the top. Add lines on the hand as well to make it more realistic and make the hands a bit spaced if it is normal, like a high-five. In addition, don't make the fingernails into a sloppy fat "U." Make them what their supposed to look like! Just follow your guide, your hand, and you'll be fine! Don't always trace the hand, or put them behind the back, just practice, and shade the hand in if you'd like!
MizMaxter from deviantart draws excellent hands.

Thursday, March 21, 2013

Picture of sideview by Spiffy-Deviant from Deviantart

     Sideviews! You have learned frontview manga faces, but I haven't addressed sideviews yet! The sideview is not all that different than the frontview really. Most people find sideviews difficult because they either haven't practiced it, or something is off and looks unnatural. They are actually less work than a front view, and here's why: Sideviews only need one eye, since the other eye cannot be seen, you just need to learn how to draw it correctly. Also, you only need one ear to draw and the hair and face is less space consuming. It is important to know how to draw sideviews to unlock new poses to draw and experiment, such as when a person is chatting to another and their face is turned. 
     So, let's get started! The most simple way when you're not familiar or confortable with the sideview is to first draw a circle. From the circle, draw a curve for the nose outward, but not too far or short unless you purposely want to do that. Come back in like an arched "V" and slowly bank down until you find that the face is long enough, then come back up in an arch which serves as a chin. Then, add any hair you would like! Finish off with the eyes. It can be drawn normally, or you can do a ">" or "<" shaped eye style as a guid to help you. Till next time!
     Today, I will teach you about shading/pressure. No matter how amazing a drawing is, without proper shading, or any shading at all, it hasn't reached its full potential. The same thing applies to any drawing style, not just manga. Shading also adds dimension and detail, allowing a person to distinguish where the light source is in a given area. Okay! So shading is really quite simple, it is going from dark to light or light to dark by applying pressure into your drawing utensil. Obviously, add more pressure for a darker result in shading, and start to release pressure as it gets lighter, then remove pressure completely when you are finished. The was you hold your pencil, etc. also differs too. I prefer holding it close to the tip with the eraser top not sticking in the air, but more leveled with the tip so that you can cover more space faster! Also, try not to use a mechanical pencil, but a regular old-fashioned wooden one. Lead from a mechanical pencil can easily snap and break, also, it is too dark for my liking, making it at a slight disadvantage for light shading. In addition, know where the light source is, and don't make everything too dark or too light, it's not natural that way, you want to make it blend and look natural! If you have trouble blending, try using your finger or a tortillion to help you blend, but don't rely on a tortillion too much, because you want to try and be less reliant on tools.
     Also, for manga hair, each strand should be loose looking, so you should start the strand of hair as light, add pressure, then slowly, release the pressure from the paper and not sloppily connect it into chunks. Try to practice shading and strokes and experiment. Bye for now!